Starlink can deliver excellent internet to rural properties that fibre will never reach — but only if the dish can see the sky properly. Get the position right and it just works; get it wrong and you'll fight dropouts every time a cloud passes or a branch sways. Here's how to give your dish the clearest possible view, protect the building, and know when it's worth calling in a professional.
How much sky the dish actually needs
The Starlink dish needs a wide, unobstructed cone of clear sky above it — roughly 100 degrees. That's a lot of open sky, not just a gap between two trees. Anything that intrudes into that cone — a chimney, a tall hedge, a neighbouring roofline, an overhanging branch — can cause the connection to drop as satellites pass behind it.
The good news is you don't have to guess. The Starlink app has a "Check for Obstructions" tool that uses your phone's camera to scan the sky from a proposed spot and tell you whether the view is clear enough. It's the single most useful step before you commit to a location, and we use it on every install to test candidate positions before mounting anything.
Choosing the spot
Walk the property and look for the position with the most open sky, then check it in the app. Higher and clearer usually beats convenient. A common mistake is picking a spot that's easy to reach — beside a wall, under the eaves, tucked next to the chimney — only to find the roof or stack clips the edge of the cone. It's worth testing two or three candidate spots and comparing the obstruction results before deciding.
Think about trees over the seasons
A view that looks clear in winter can close up completely by June. Deciduous trees leaf out, hedges grow, and a sapling that's below the roofline today may be in the way in a couple of years. When choosing a position, look at where the trees will be, not just where they are — leave yourself margin, or plan the mount somewhere the canopy can't reach.
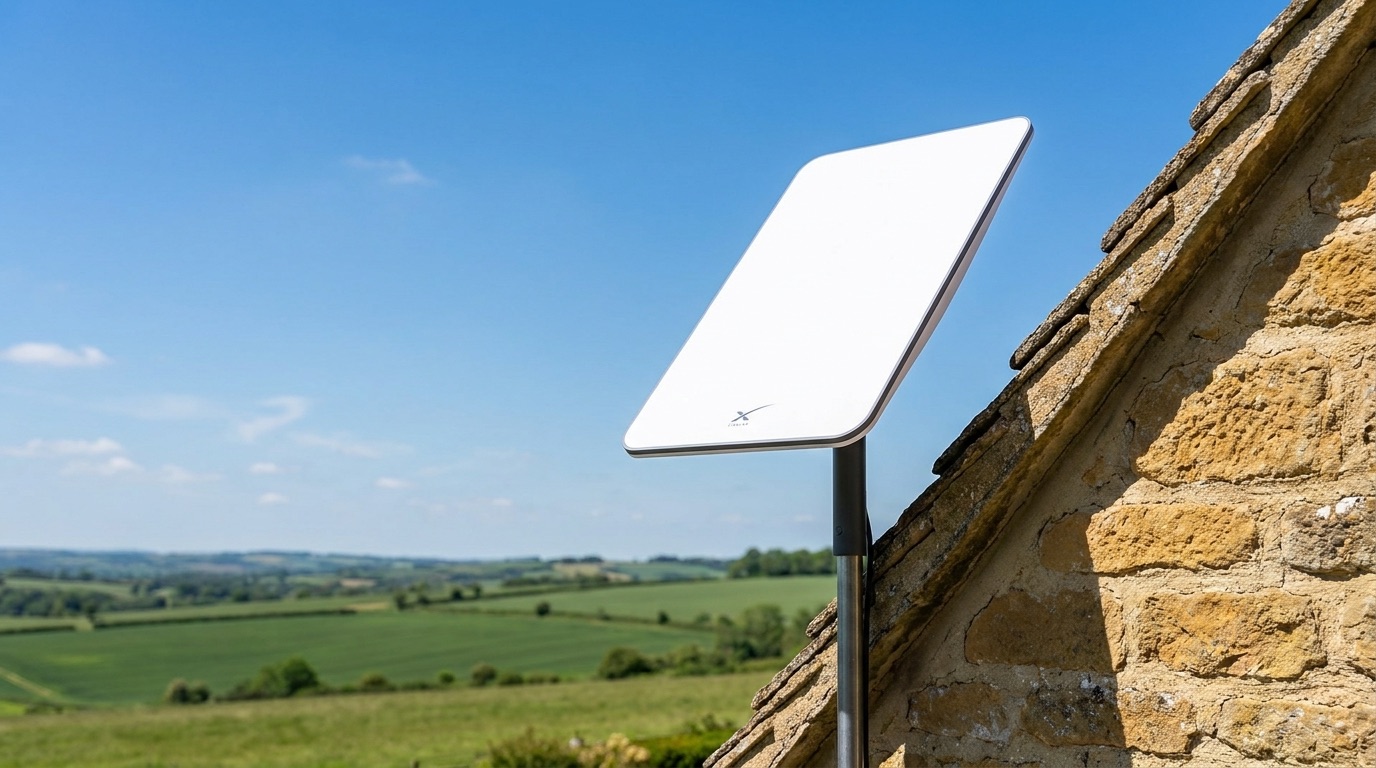
Mounting without drilling into stonework
On rural and older buildings we avoid cutting into stone wherever possible. There are several ways to get a solid, high mount without damaging the fabric:
- Chimney straps — a stainless strap mount that clamps around the stack, giving height and a clear view with no drilling.
- Ridge mounts — fixed at the roof ridge for maximum sky visibility.
- Ground poles — a pole set in the garden or yard, ideal when a rooftop position is obstructed or the building is listed.
The right choice depends on where the clear sky is and what the building will allow.
Routing the cable indoors
The Starlink Gen 3 comes with a 23-metre cable, which gives good flexibility to reach a sensible entry point — but it's a fixed length, so the dish position and the cable route have to be planned together. We route the cable neatly to a discreet entry, avoid sharp bends that can damage it, and bring it in where the router can sit sensibly. Where the cable passes through the wall, we finish it with an IP-rated junction box so the entry point stays properly weatherproofed against driving rain.
Grounding and surge protection
An outdoor dish on a pole or roof is an exposed piece of kit. In rural, open locations it's sensible to think about grounding and surge protection to guard the equipment (and everything connected to it) against nearby electrical strikes. This is easy to overlook on a DIY install and worth getting right.
When to call a professional
If the obvious spot is obstructed, the only clear view is high up, the building is listed, or you'd rather not be up a ladder with a strap mount and a 23-metre cable, that's the point to bring someone in. A proper install gets the position, the mount, the cable route, the weatherproofing and the grounding all right the first time — so you're not troubleshooting dropouts later.
Frequently asked questions
How much sky does it need?
A clear cone of roughly 100 degrees overhead. Use the Starlink app's "Check for Obstructions" tool to confirm a spot before mounting.
Can it go in the loft or behind glass?
No. The dish must have a direct, open view of the sky — a loft, a window, or any glass in the way will block the signal. It has to be mounted outside with a clear view.
What's the best height?
High enough to clear chimneys, rooflines, hedges and trees within its field of view. Higher is usually better, but the real test is the obstruction check, not the height alone.
Will trees block it?
They can — and remember they grow and leaf out seasonally. Choose a position with margin for where the canopy will be, not just where it is today.
Do you offer installation in Oxfordshire and Northamptonshire?
Yes. We're based in Towcester and cover Oxfordshire, Northamptonshire, Buckinghamshire and Warwickshire, handling the dish position, mounting, cabling, weatherproofing and the network behind it.
Thinking about Starlink or struggling with a dish that keeps dropping? Start with our £99 Network Health Check — we'll assess your sky view, positioning and setup, and credit it in full against any work you go ahead with. Call Ricardo on 07862 441924 or book a £99 Network Health Check online.